Make My Terminal Beautiful, Part 2
October 23rd 2011In Part 1, I described some of the basics of colorizing your terminal. In Part 2, I will describe setting up ( from scratch ) some essential software for a great terminal experience.
Let's Get Started
If you live in the terminal like me, you may already be using a terminal multiplexer like GNU Screen or tmux. These utilities make remote work much more pleasant by providing a window manager for your terminal sessions. If you are installing either of these from a package manager, they are usually configured correctly. Though, if you are compiling them from scratch some special attention will need to be paid.
GNU Screen
The older, mainstay terminal multiplexer: GNU Screen has been around since 1987, with the last stable release in 2008.
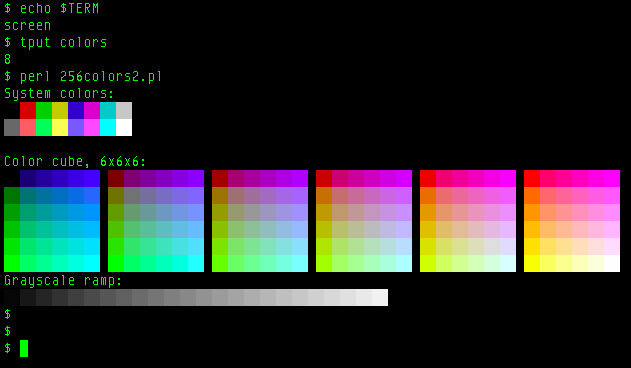
When installing Screen from source you must use the --enable-colors256 option.
For example:
./configure --enable-colors256
make
make install
To launch screen, type:
screen
Try some of the steps in Part 1 to make
sure everything looks good. You may need to reset your $TERM environment
variable within your screen session for everything to work properly. This can
be automated by adding this to your ~/.bashrc:
[[ $TERM == "screen" ]] && export -p TERM="screen-256color"
Tmux
If you are on Mac OS, tmux can be installed with a simple:
brew install tmux
When installing from source, make sure that ncurses is installed and simply:
./configure
make
make install
Tmux will work whether or not your environment is configured properly:
Though, as with Screen above, you should make sure that your $TERM environment variable
is set properly within your tmux session. Again, this can be automated by adding the
following to your ~/.bashrc:
[[ $TERM == "screen" ]] && export -p TERM="screen-256color"
An Editor From the Angels
While GVim color schemes can make use of any colors imaginable, vim on the command line will usually rot in an 8 color abyss. This can be rectified by making sure that your copy of vim is properly configured and an appropriate color scheme is enabled.
If you have followed the previous post and already have vim installed, then check to see how many colors are supported by typing:
:set t_Co
In my editor, I see:
t_Co=256
Which is what we want.
If you are building Vim from source, you will need to pass the --enable-256-color
flag to configure. For example:
./configure --enable-256-color
Once you have a working, 256 color supporting vim installed, it's time to configure a nice color scheme to stop your eyes from bleeding.
My current favorite is the wombat256 ( demo ) adaptation of the GVim Wombat color scheme.
Some other popular schemes are:
Solarized - This set of color schemes includes some very nice presents for many applications and terminal emulators.
Tomorrow-Theme - Another set of color schemes, with support for many other editors included.
To install a Vim color scheme, copy the .vim color scheme file into $HOME/.vim/colors/ or into
an appropriately named $HOME/.vim/bundle/ folder if you use pathogen. Next,
set the color scheme within your $HOME/.vimrc configuration file.
My syntax/color configuration looks like:
set background=dark
filetype plugin on
syntax on
colorscheme wombat256mod
You may need to see if there are any options to set for your color scheme choice.
If you have any questions, feel free to ask in the comments. Thanks for reading!